Windows Setup (Visual Studio)
System setup (Visual Studio)
General Information on Visual Studio
The default approach to compile C++ code in Windows is the use of Microsoft Visual Studio.- - This software integrate both a C++ compiler and an IDE.
- - Visual Studio is the privilegiated development solution from Microsoft that natively integrates within Windows system. It allows to generate .exe file that can directly access the full capacity of your system (in particular your graphics card for OpenGL programs).
- - a good internet connection
- - available disk space.
- Visual Studio Code is a lightweight text editor, but does not come with a default C++ compiler. Even if you have Visual Studio Code, you still need to install a compiler such as the one provided by Visual Studio.
Installation steps
These steps need to be done only once on a given computer. Before starting, make sure your Windows system is updated (ex. on Windows 10: Settings, Update & Security, Windows Update). If your system is not updated since months/years, Visual Studio may not be able to correctly compile C++14 which is required for CGP.As a general advice, setting the primary language in your Windows settings to English (instead of French for instance) is a good idea when programming. Several settings and debug message will make much more sense in English than their (sometimes approximated) translations in other language.
1. CMake
First download and install CMake- - Go to: Download -> Windows x64 Installer (cmake-3.xx.yy-windows-x86_64.msi)
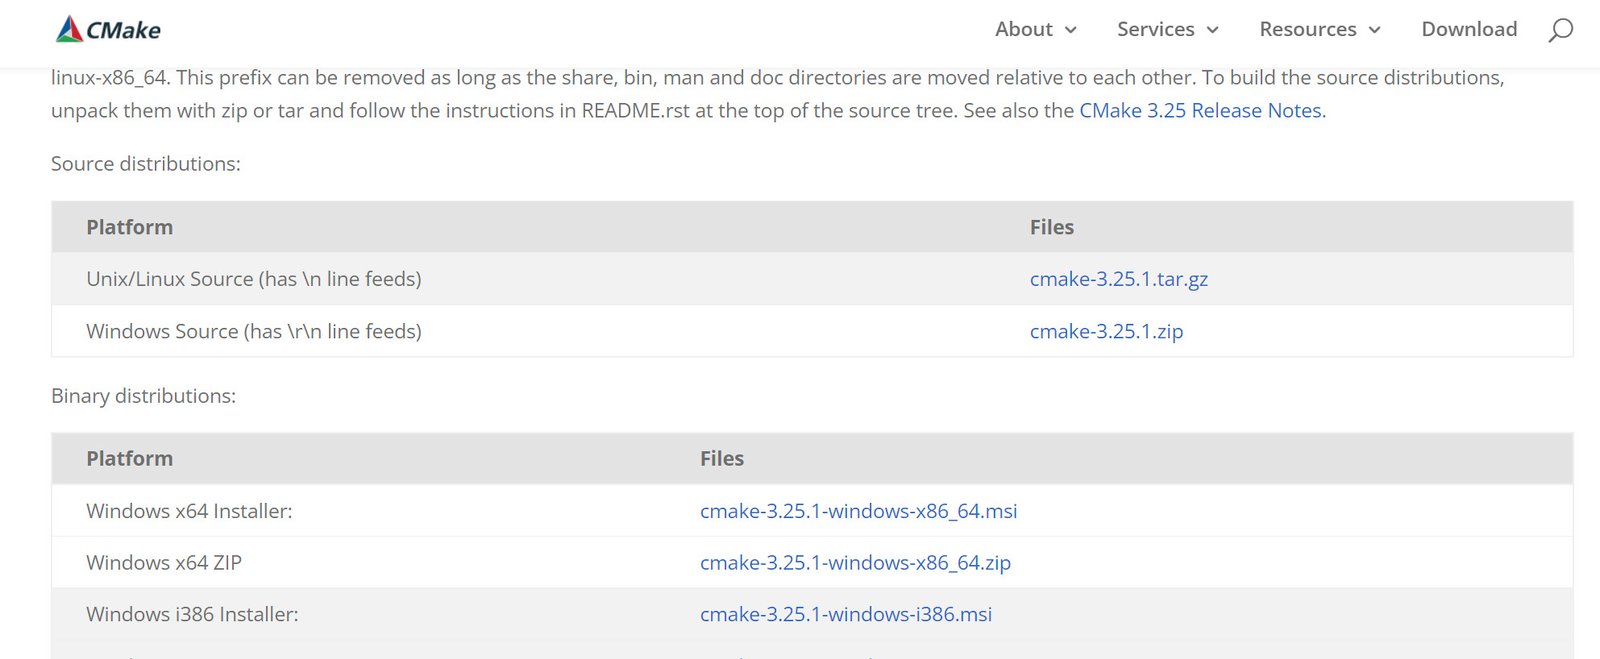
- - Select Add CMake to the system PATH in the setup
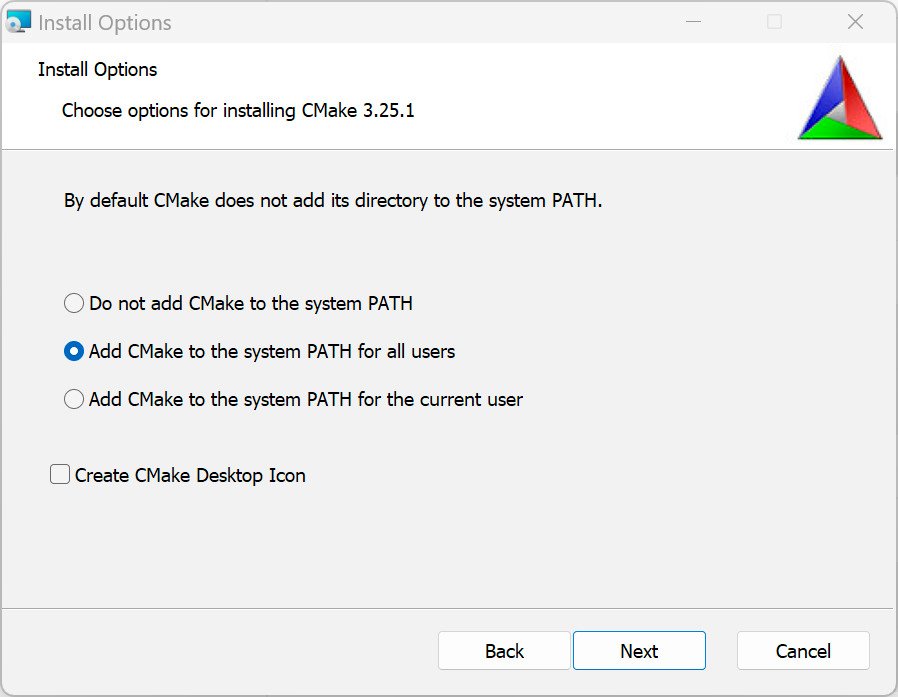
- - Then follow the standard installation setup.
2. Visual Studio
Warning: Make sure the installation process of CMake is fully finished before starting the installation of Visual Studio. Second, download and install Microsoft Visual Studio.- - You can download at your convenience Visual Studio 2022 or Visual Studio 2019, both are able to compile recent C++ code.
- - Select Visual Studio Community Edition which is free (contrary to the professional and entreprise edition).
-
- Even if the software is free, you will have to create a Microsoft account if you do not have one yet to register your product and extend your license.
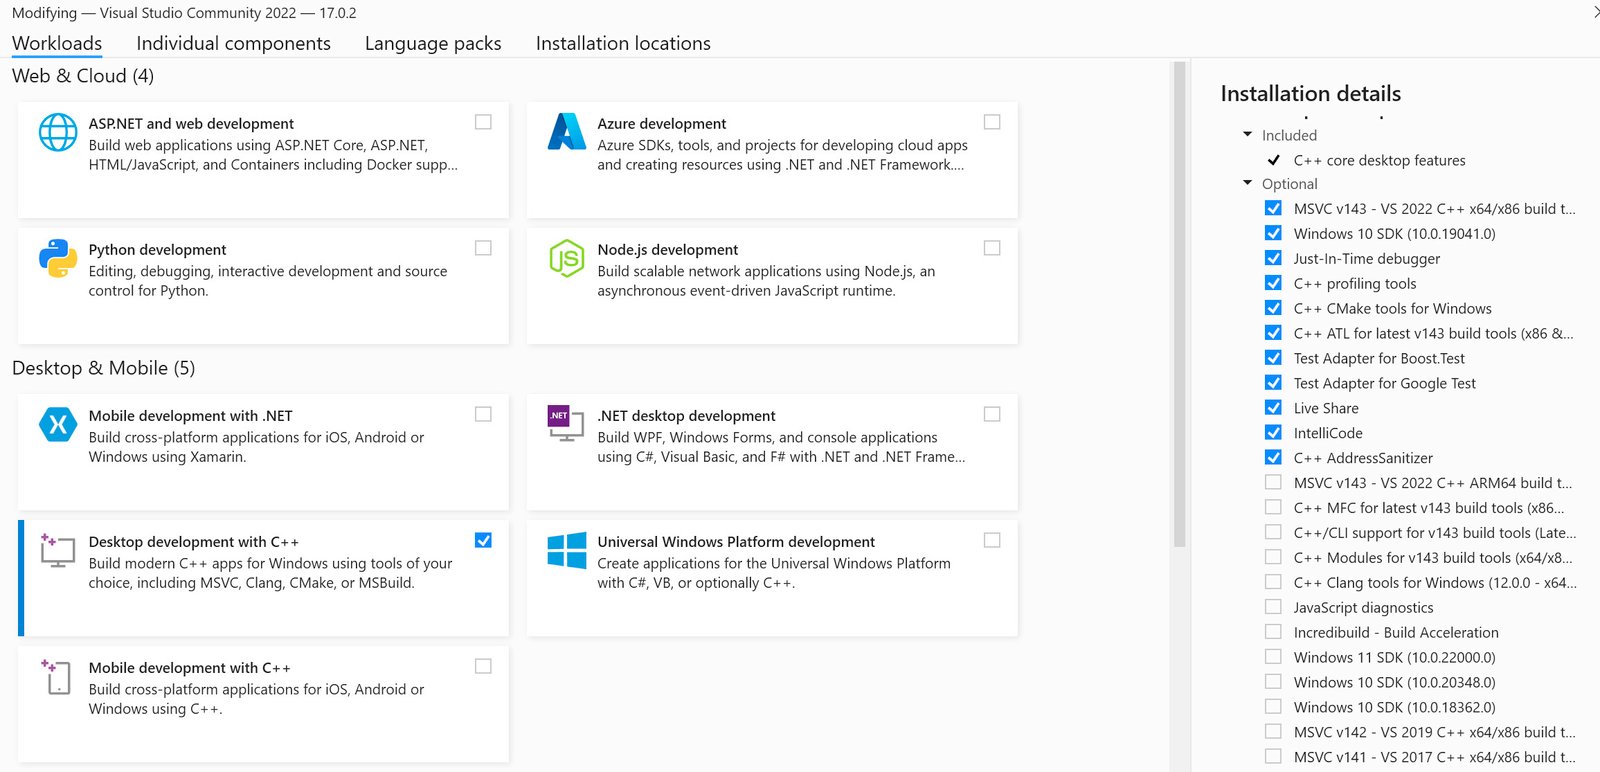
- - The installation process will take a while, and you may need to reboot your system at the end. Avoids installing other software in parallel (especially do not install CMake during this process).
- - Link to the official installation documentation in case of problems.
First compilation
The general process to compile and execute a C++ project with Visual Studio will be the following.- - The project will first be loaded from the CMakeLists.txt file (which is a cross-plateform description),
- - then Visual Studio will handle the code edition, compilation, and execution of the program.
- - Each project in the CGP examples is an independant program. We will call the "root directory" of a project the directory that contains the premade CMakeLists.txt (as well as a Makefile), for instance examples/example_compilation/.
- - Some antivirus and programs that constantly check on new files may perturb the compilation process on Windows.
- \(\Rightarrow\) If you are using Avast: You need to desactivate it otherwise it will block the creation of new executable files.
-
- Side Note: The default "Windows Defender" (on Windows 10 and 11) which is automatically activated when you don't have other antivirus is already a good protection for standard usage against virus. Avast is probably not the best tool to use in general for protecting your computer.
- \(\Rightarrow\) The use of "Dropbox" (or file synchronization type of tools) should also not be activated on the directories where you generate your project.
- - The code must be placed in a path:
-
- - which is sufficiently close to the root (ex. C:/) as Windows has limited maximum path length.
-
- If you use too many, or too long subdirectories, some files of the code may be unreachable.
- - that do not have any subdirectory with space in the name
- - that do not contains non-ascii characters (beware of the accents, for instance in your home name).
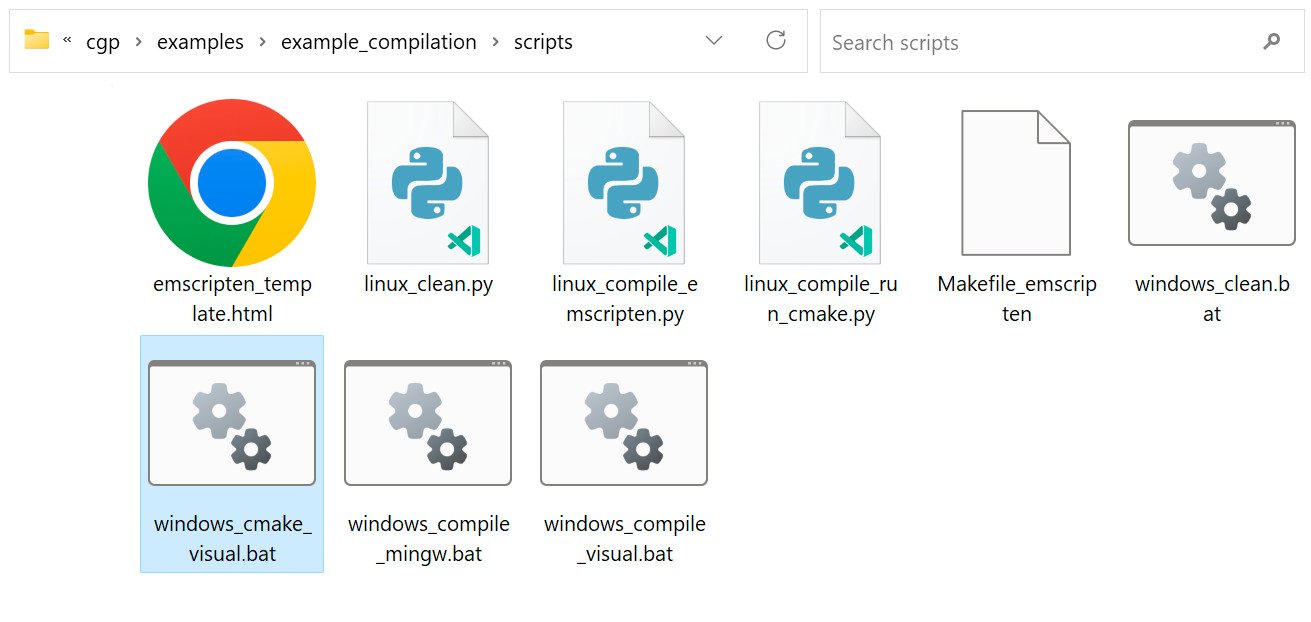
Method 1.a Generating a Visual Studio project from the provided scripts
Let us consider the root_directory to be examples/example_compilation/- This directory can be adapted to any other scene example.
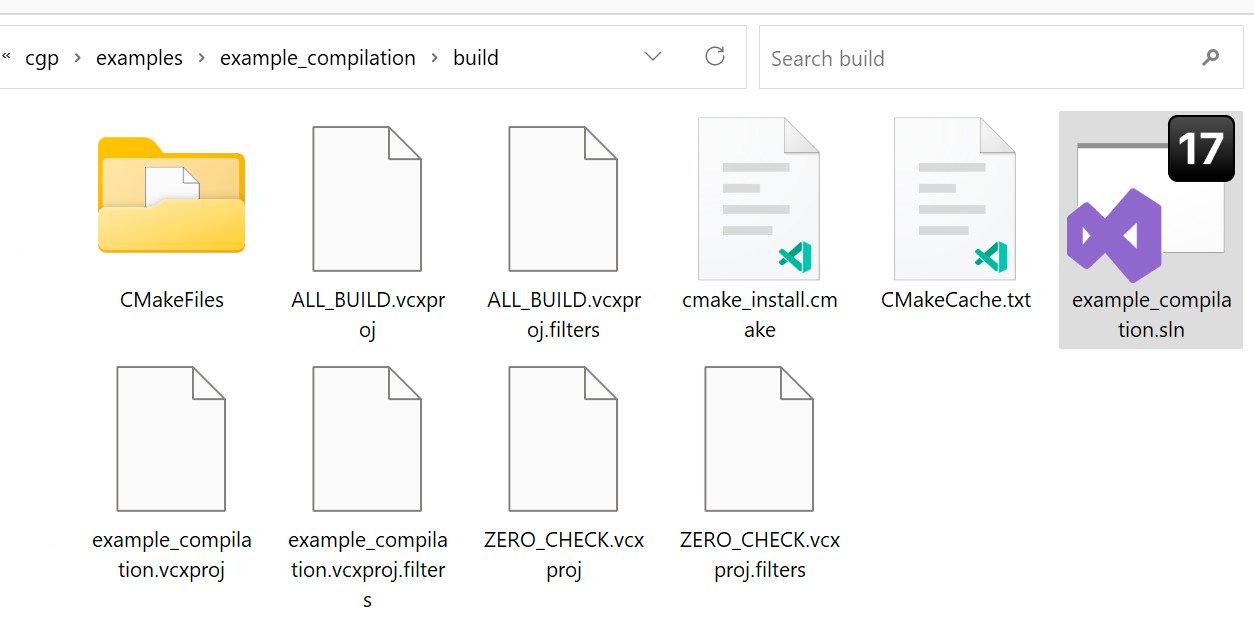
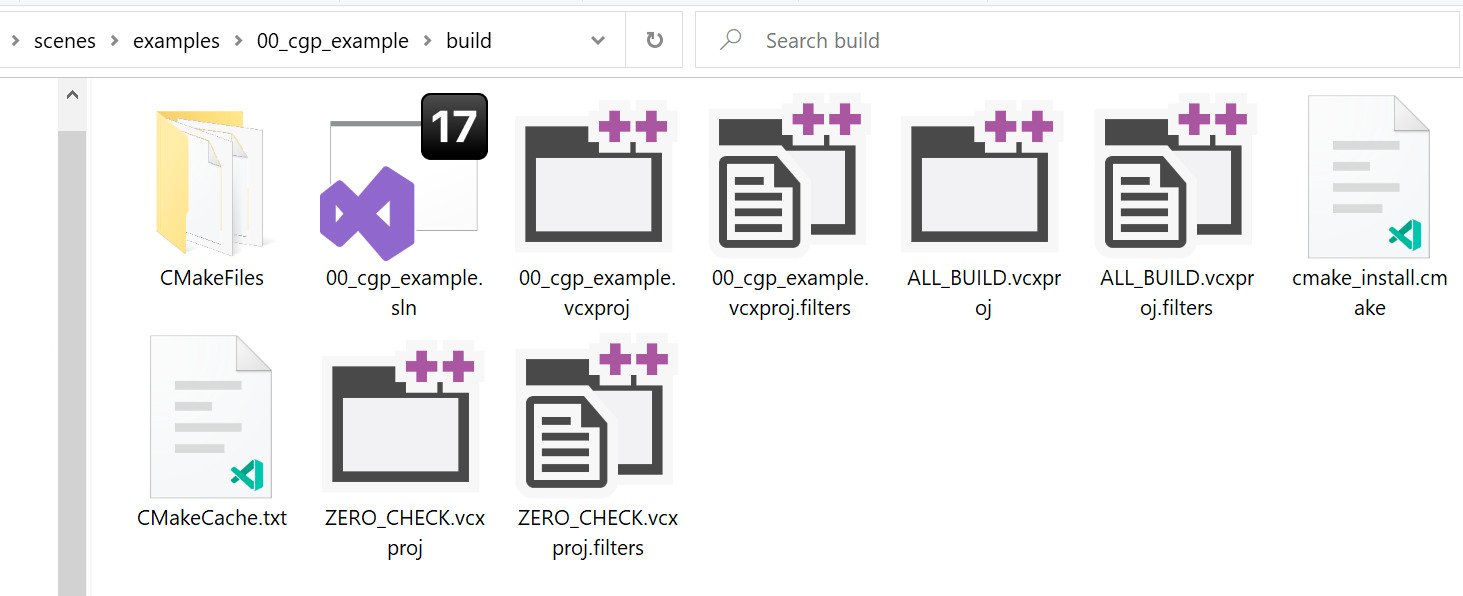
- - If the script succeed, you should now have a directory [root_directory]/build/ (ex. examples/example_compilation/build/) containing a file with extension .sln (ex. example_compilation.sln).
-
- you may need to activate the view of the file extension on windows to see the .sln
- - You can now open Visual Studio in double-clicking on the .sln file
- - If the script failed, then follow the manual alternative (method 1.b).
- - Before trying another approach, run the script windows_clean.bat that will remove the temporary directory build/
Method 1.b Generating a Visual Studio project from CMake manually
1. Start CMake as an external tool - Call cmake-gui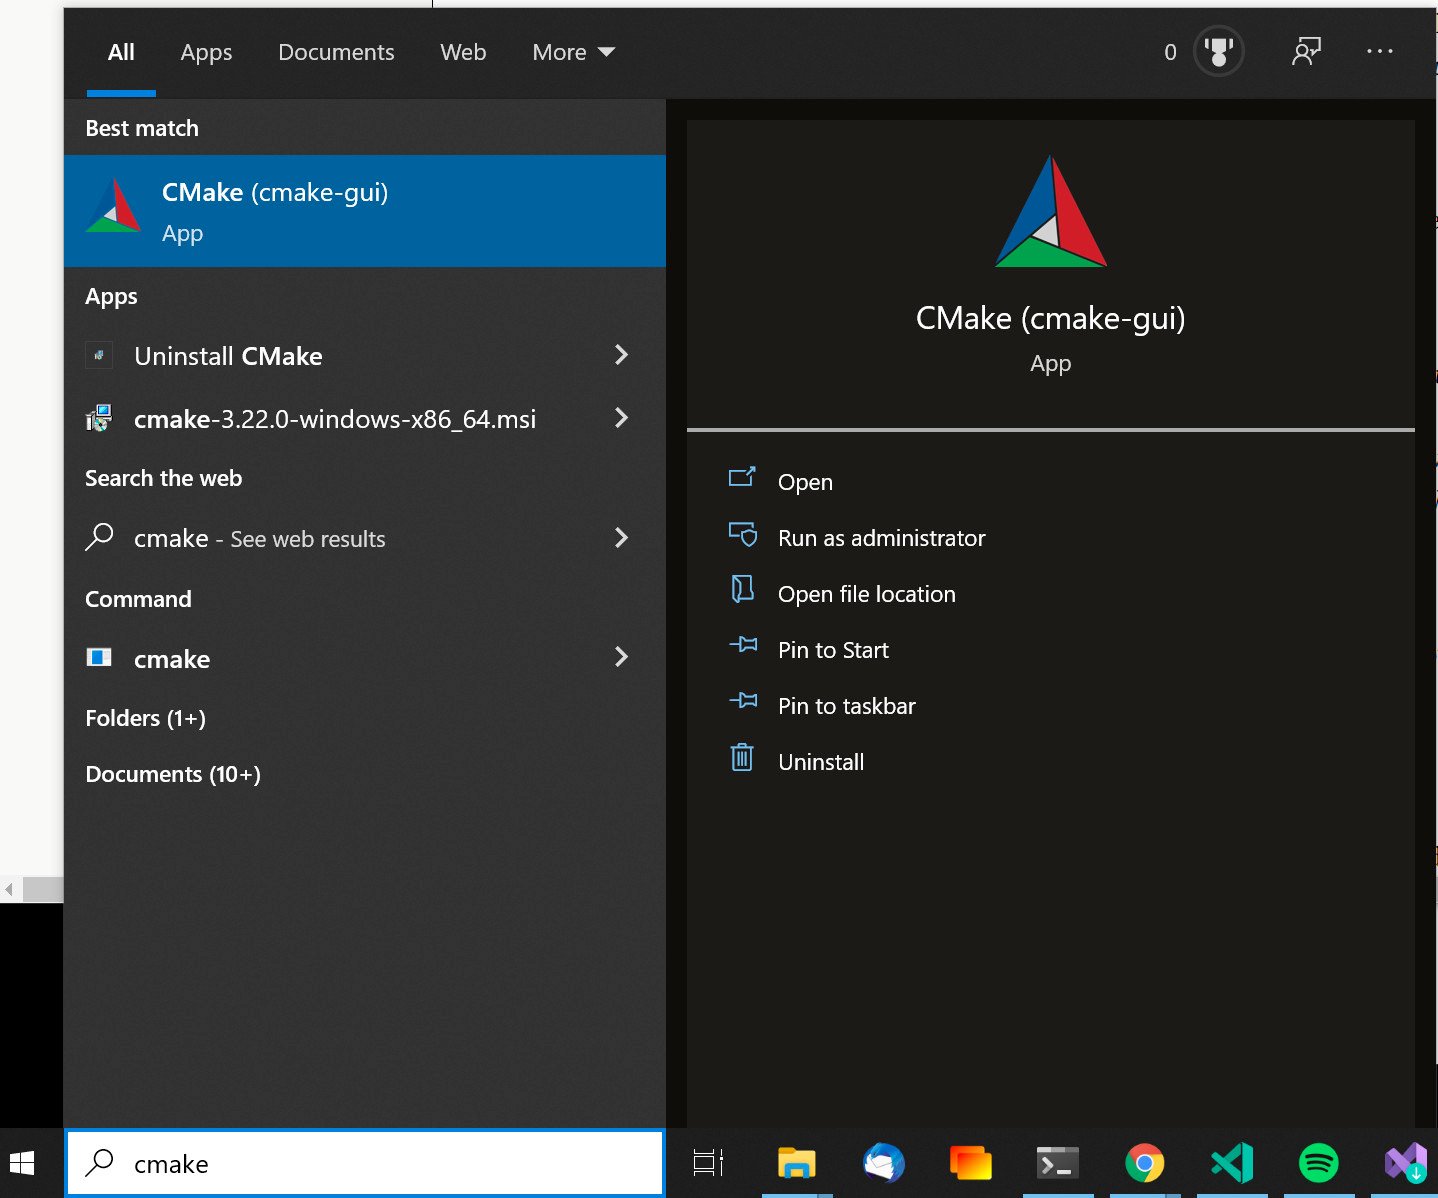
Calling CMake as an external program
- - Set in Where is the source code: the full path up to the root of the project.
-
- In your case probably: C:/[some-path-here]/examples/example_compilation (to be adapted to your machine and project)
- - Then fill Where to build the binaries: to the same path with an additional /build
-
- In our case: C:/[some-path-here]/examples/example_compilation/build
- This /build directory will contain all the temporary files used to set the project and the intermediate compiled files.
Set the path to your root directory
- - Click on Configure
-
- - Accept the request to create the directory (/build)
- - Select in Specify the generator for this project your installed version of Visual Studio (either Visual Studio 17 2022, or Visual Studio 16 2019) and click on Finish.
- The process of configure can take some time, but should finished with the line Configuring done without error.
- Note: Some variables appears in red at the end, but this is not an error.
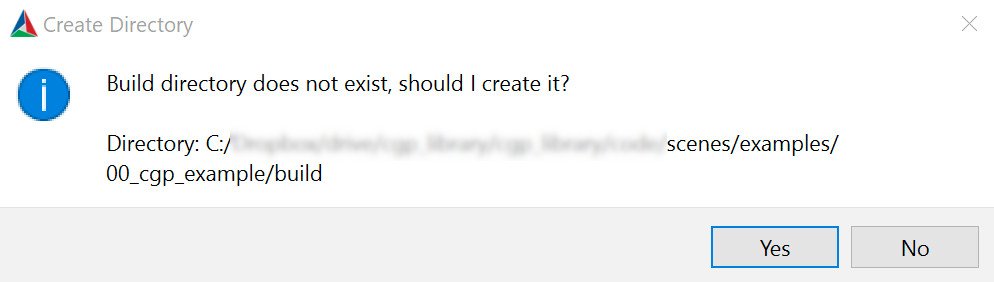
Accept the creation of the build/ directory.
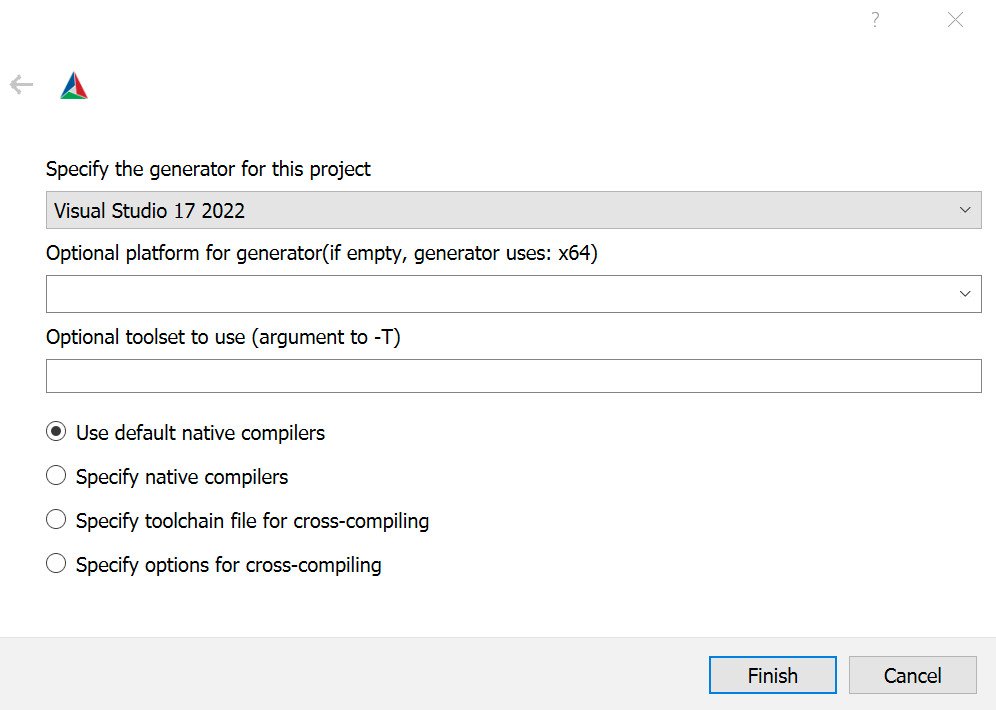
Set your version of Visual Studio.

End of the configuration indicating "Configuring done".
- - Click finally on Generate
-
- A new line Generating done should be displayed.
- \(\Rightarrow\) At this step, you should now have a /build directory with several files, and in particular example_compilation.sln.

Opening and running the project in Visual Studio
The project can now be opened in Visual Studio either- - in "double-clicking" on the .sln file
- - or in starting visual studio -> "Open a project or solution" -> then select the .sln file.
- - Look at the Solution Explorer - it shows the hierarchy of source files.
- - Unroll the entry example_compilation/src, and click on a source file such as scene.cpp for instance.
- - The code should appear in the central display.
Opening the source code of the project in starting Visual Studio
- (the positioning and ratio of frames can vary depending on your system)
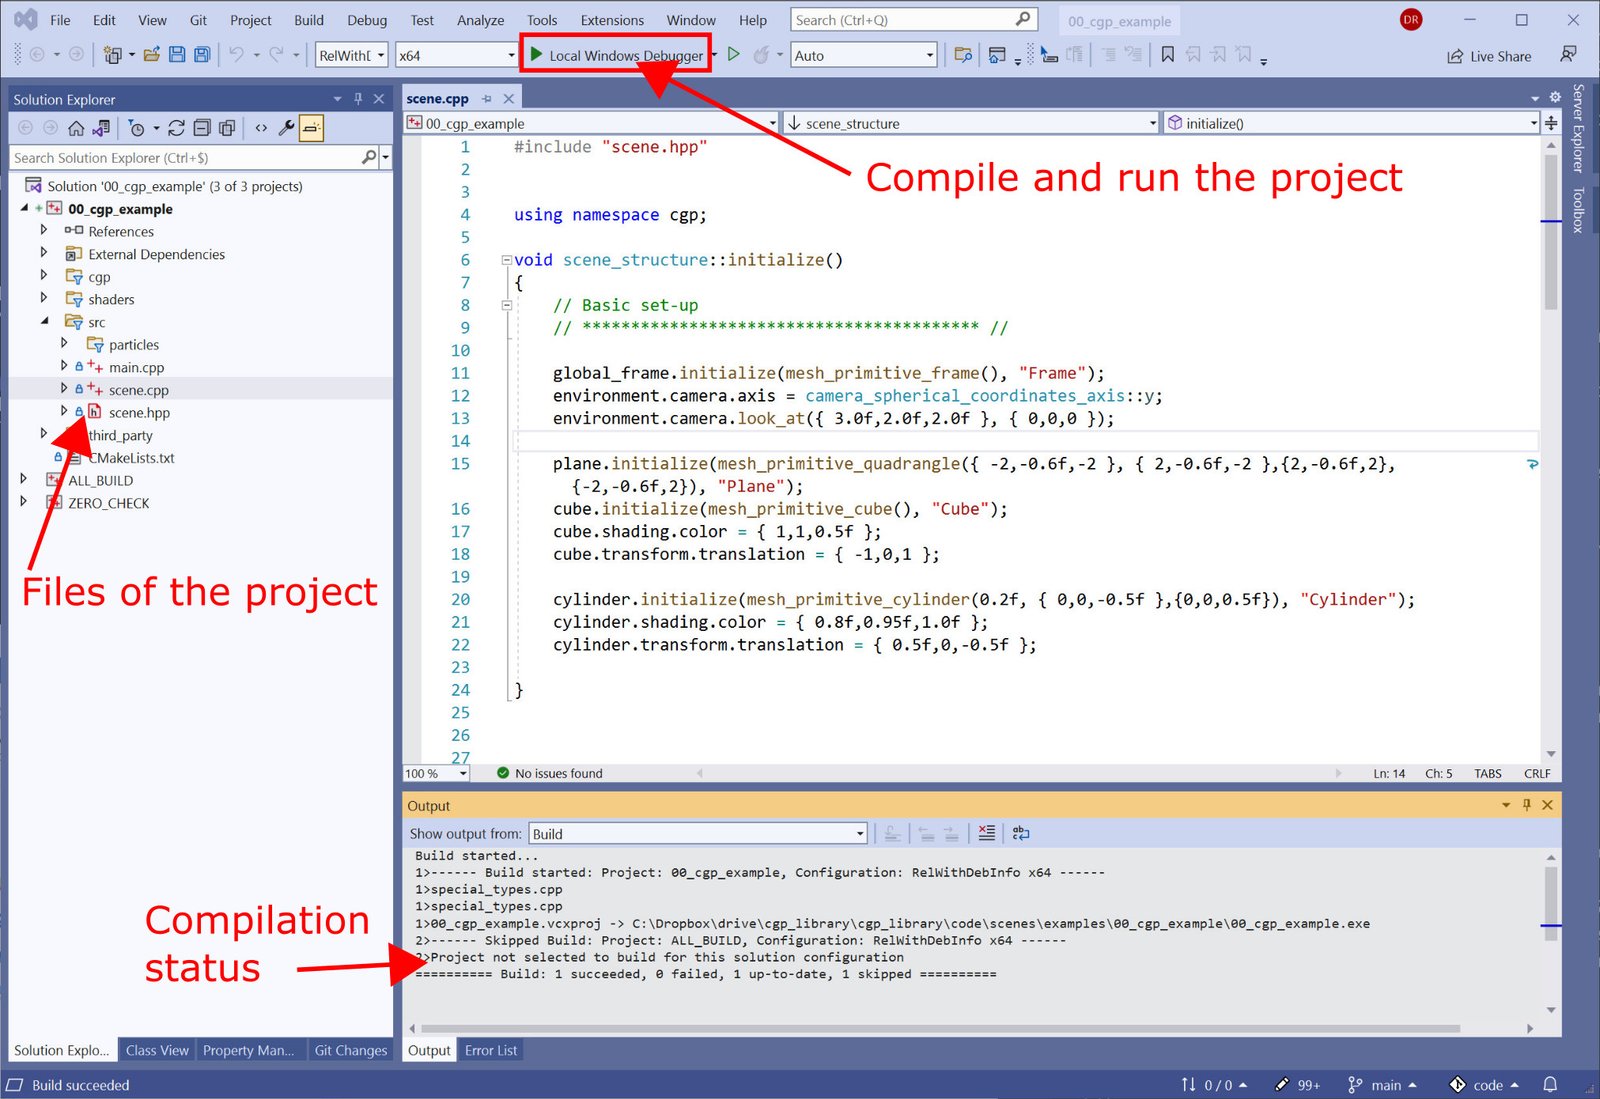
Opening the source code of the project in starting Visual Studio
- - The compilation status should end with Build indicating "0 failed".
- - Once the compilation is finished, a file "example_compilation.exe" ([current_directory].exe) should be created in your root directory.
- or in double-clicking on the executable file directly from your Windows file explorer.
Additional information on build/
The build directory can take a lot of space on your disk, but it contains only temporary files for the compilation process that depends on your machine (depending on your absolute file paths).This build/ directory can (and should) be suppressed without risk when you are not editing the project. In particular:
- - If you experience any issue of seting up your project: Remove the build/ directory to have a clean state and restart the CMake process from the beginning.
- - Remove this directory when switching your project to another machine.
- - Do not add this directory on code sharing repository (for instance when using git), as it will conflict when used outside your machine.
- - You can use the script scripts/windows_clean.bat to remove these temporary files.
Method 2: Direct load in Visual Studio
Another possibility is to use the internal CMake tool of Visual Studio. 1. Open Visual Studio, and select Open a local folder2. Go to the root directory of your project, and click on Select Folder
- ex. C:/[some-path-here]/scenes/examples/example_compilation
- Once the compilation is finished, right click on example_compilation.exe in the Solution Explorer, and select: Set as Startup Item. - The program can then be run using the green arrow "Current Document" when looking at a source file of the project. Or in setting it permanently this to the executable name (ex. example_compilation.exe) using the down arrow in the right-side of the button.
Opening the source code of the project using the embedded CMake in Visual Studio
- - The Solution Explorer however only displays the local files of the project, and not the one from the CGP, which makes this approach less convenient for naviguating through the project files.
- - Visual Studio will automatically generate the directory .vs/ and out/. These are temporary directories that can be erased without risk (same for the temporary files [project-name].ikl and [project-name].pdb).
- - By default, Visual Studio compiles in Debug mode (slow execution). You may configure it to compile it in "RelWithDebInfo" (see configuration steps documentation).