Making your website available online
Local vs hosted files
When developing your program in HTML/CSS/JavaScript, you are writing them on your local computer. Therefore, these programs can be executed only from your machine in reading them by your browser.
However, all your programs and projects can be made available on the internet, and thus can be run from any computer or mobile phone. To allow it, you need to host your files on a server that will allow you to access your files from an url.
The host will provide you two components:- The actual storage of your files (/hosting) on their servers, meaning that your files are actually copied and available on the hard drive of the server.
- A domain name (or subdomain), which provide the connection between the url and the directory where your files are hosted.
Hosts
Hosting possibilities
Several hosting companies allow you to set up easily your files for online use. Some of them offers free hosting and domain name. Note that free offers may have limited space, bandwidth, reliability, and may contain ad. However, they can be a good starting point for your classroom experiment. If you need more professional solution to host company website or personal projects, a large panel of paying solutions are available at various prices starting at less than 5 euros per months.
-
Example of standard paying hosting companies (non-exhaustive):
- Hosted in the US: Go Daddy, Blue Host, Host Gator), etc.
- Hosted in France: OVH, Online.net, O2Switch), etc.
- Examples of free hosting services: AwardSpace, Weebly, 5GBFree.com, bravenet, 000webhosts.com, etc.
- Dedicated computer (ex. VPS) allowing you to set up your own server solution (node.js, code forge, developing frameworks, etc)
- Help to install software such as CMS (Content Management Systems), ex. WordPress, Drupal, which provide read-to-use frameworks to set up websites/blogs/forums without the need to program.
In the case where you only want to upload HTML/CSS/JavaScript files (such as the programs from this class), you don't need these options, and basic file hosting is sufficient.
Domain name
The Domain name is a specific registered name from which the connection between an url and the actual server can be made.
Your files can then be accessed from the url following the syntax
http://[DomainName]/[YourFiles]
.
For information, registered information on the owner of a given domain name can be accessed through the command line tool
whois
(ex.
whois polytechnique.edu
).
Selecting, and registering a domain name, is not directly related to the host as you may connect any registered name to your selected host. However, most hosts companies offer simple domain name registration. While most domain names need to be bought, free hosts may also provide free domain names, or at least subdomains that they already registered.
From the user side, hosting your files on a given registered domain name usually consists in copying these files on the directory corresponding to the domain name.
Example
Here is an example of website setup for the Free solution at AwardSpace.- Register to the Free Web service.
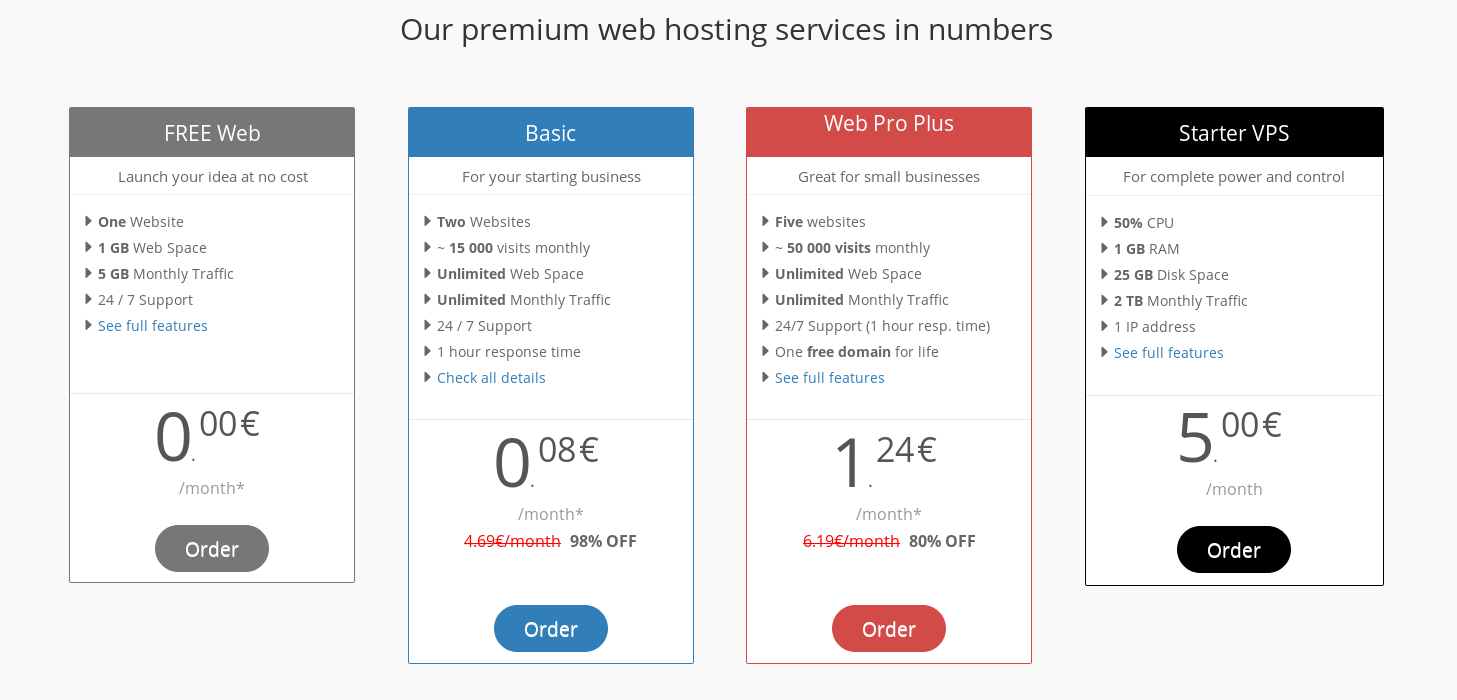
-
Once registered, you have access to the control panel (in addition to the file hosting, it gives access to other services such as e-mail account and database management).
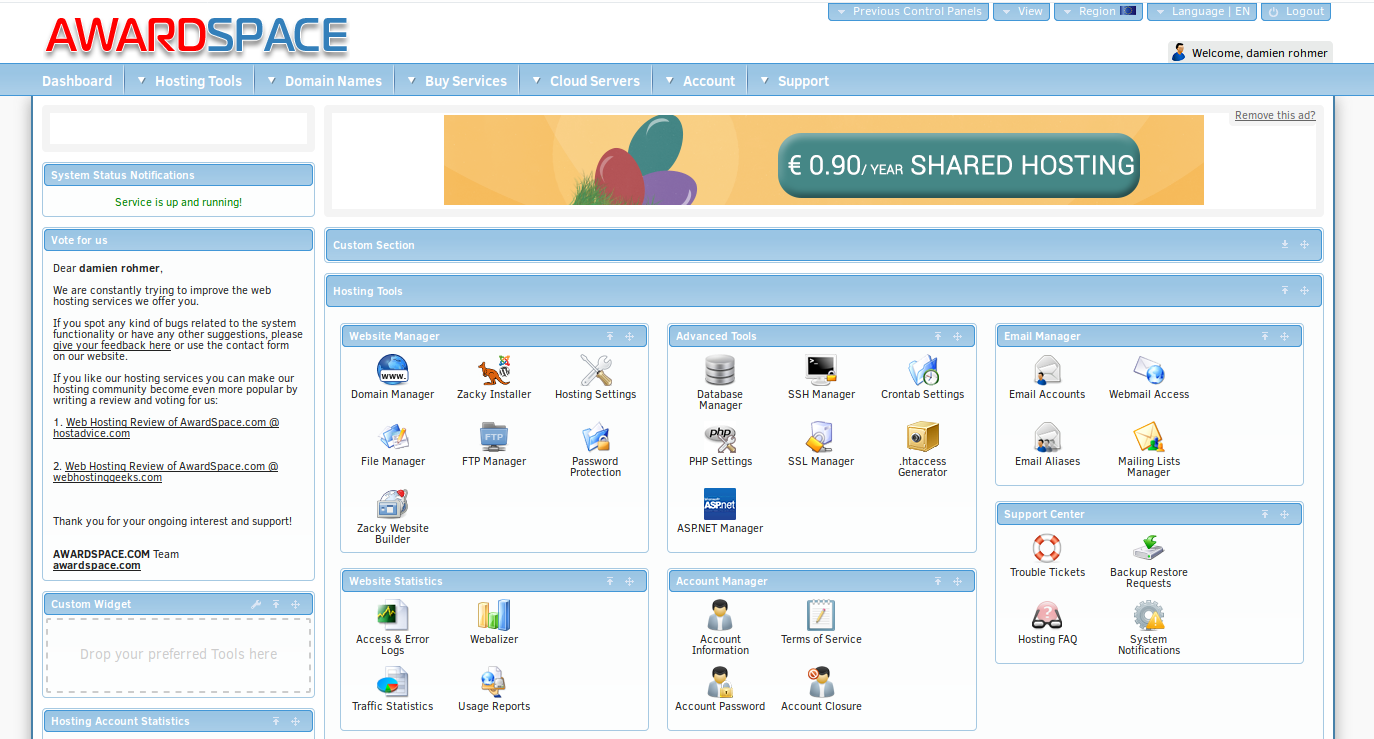
-
The next step is to setup a domain name to be able to access your files from an internet url. Go to
Domain Names
and then selectCreate a Free Subdomain
( you may also register a Free Domain or buy any domain name). Type the name you choose for your subdomain in addition to the selected domain name.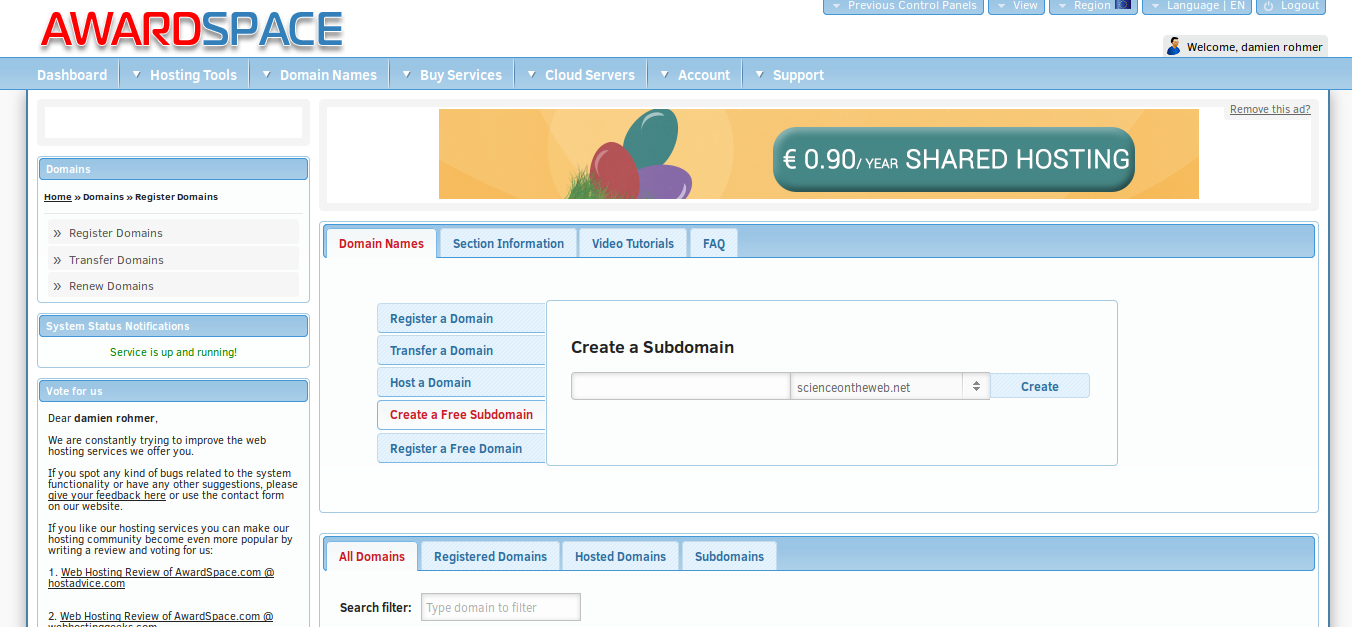
-
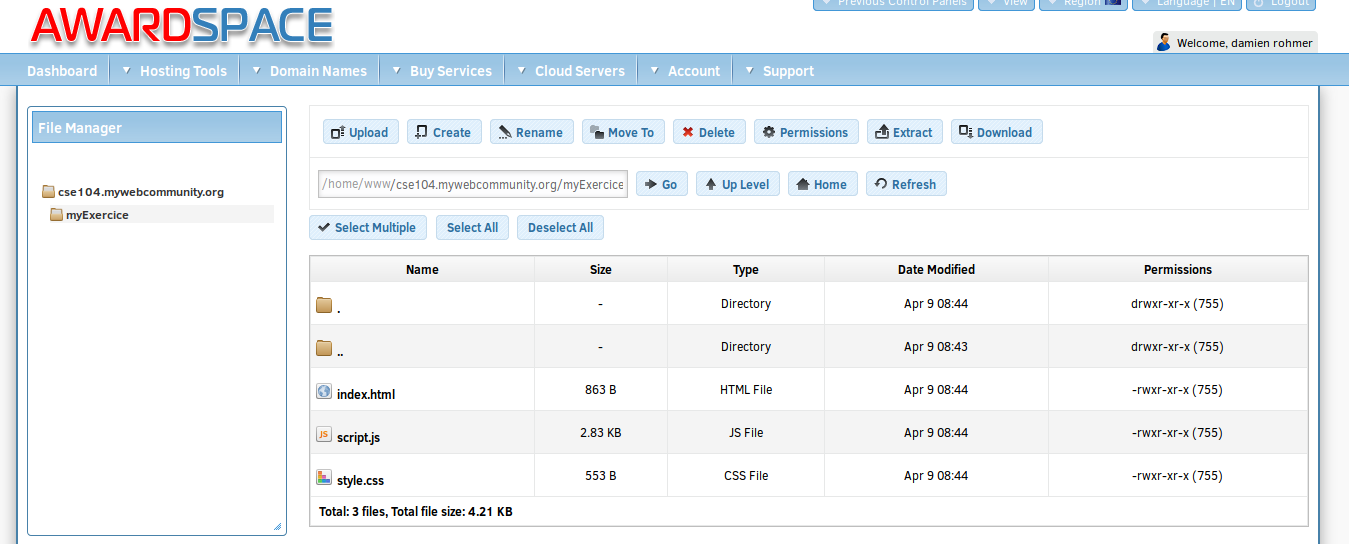
Once created, go to File Manager. Your domain name appears as a directory. All files uploaded from this root directory will be available from the url
http://[DomainName]/
.Create any directory you want from the directory related to your domain name to organize your data and upload the files of your project.
Example of files uploaded in[DomainName]/myExercice
-
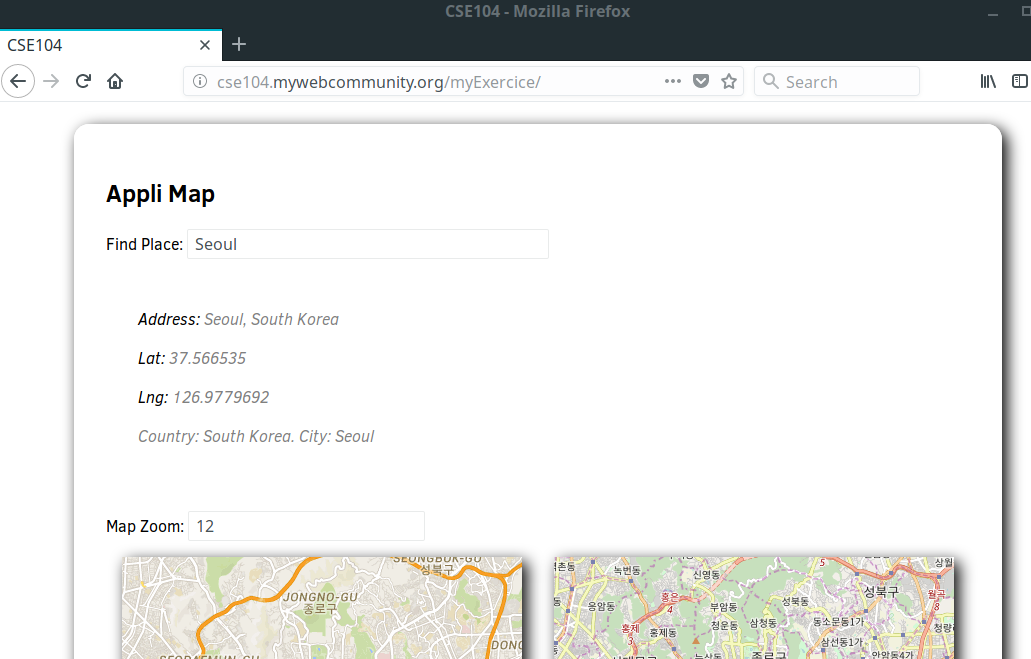
Once uploaded, you may access your application from any computer or mobile phone at its address
Example of online website.http://[DomainName]/directory/